 Travel
 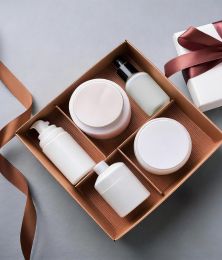 Gift
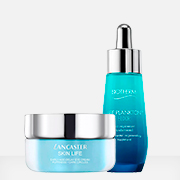
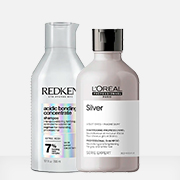
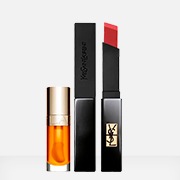
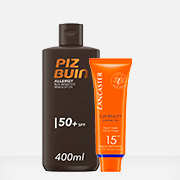
Gift  Beauty Corner
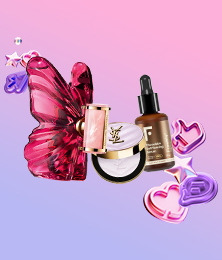 Viral
Viral 


OUR UNIVERSES
Enjoy and explore the themed experiences created for those who are looking for something more
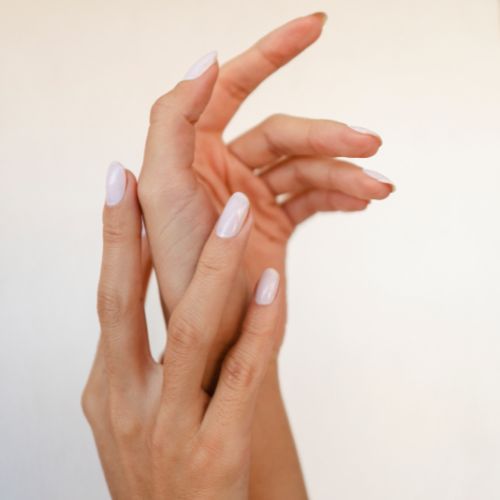
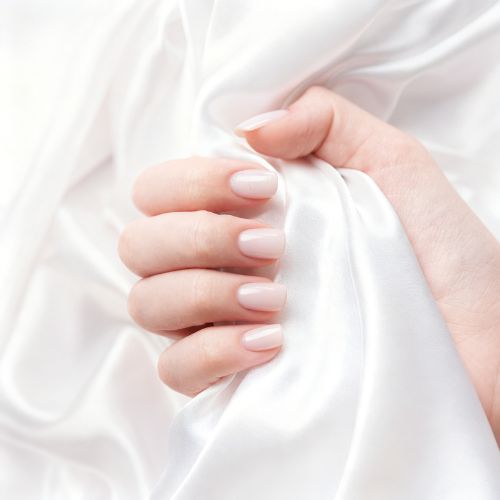
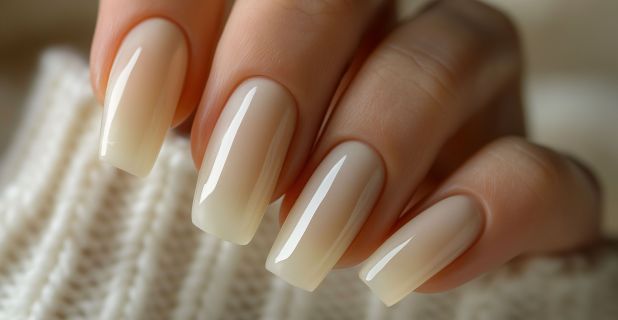
Some manicures scream with color, while others win you over with their subtlety. However, we've all experienced the frustration of trying for a classic white manicure only to end up with an uneven, dull, and patchy finish. Milky nails are the ultimate solution to that "fear of white": a soft, slightly translucent, and luminous finish that instantly makes your hands look flawless and elegant.
If you're looking for natural-looking nails with a sophisticated touch, perfect for everything from an office look to an evening event, this trend might be for you. The best part is that, being a technique of thin, translucent layers, it's much easier to apply at home with professional results .
Unlike traditional opaque white, milky nails are a translucent white manicure that mimics the soft, slightly opaque tone of milk. It's not a bright white or a classic French manicure, but rather a more diffused and natural effect that adds light without hardening the nail.
Its appeal lies in its balance; it allows the natural nail to show through while unifying the tone, providing a healthy shine and a porcelain-like appearance. It's the natural evolution of the clean girl trend applied to manicures.
Milky nails don't aim for contrast, but rather harmony. That's why they work on both short and long nails , whether square, round, or almond-shaped.
Although subtlety is the foundation, you can adjust the intensity according to your personality:
The finish of milky nails is subtle, and precisely for that reason, every detail stands out more. That's why preparation is key. These are the basics you need:
The secret to milky nails lies not in the difficulty, but in the technique and the delicacy of the layers. Because it's a translucent finish, you shouldn't overload the product. Every step counts.
Milky nails are the perfect manicure for multitaskers who juggle a million things at once but still want to look impeccable. This new style proves you don't need bright colors to stand out.
They're practical, easy to maintain, and offer a timeless elegance that fits your lifestyle. They also prove that elegance can be simple and accessible. Sometimes, less is more, and these nails are the perfect example.
 Personalised
 Beauty corner
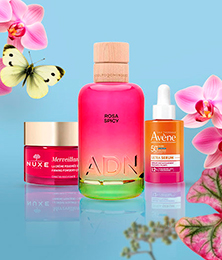 Universe
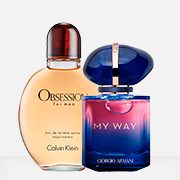
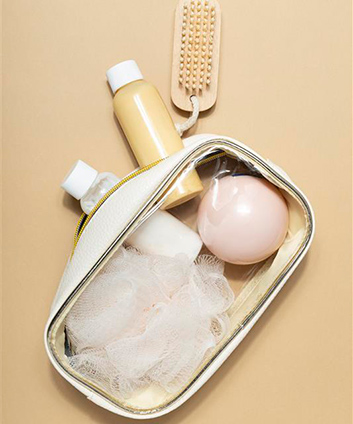 Your essentials
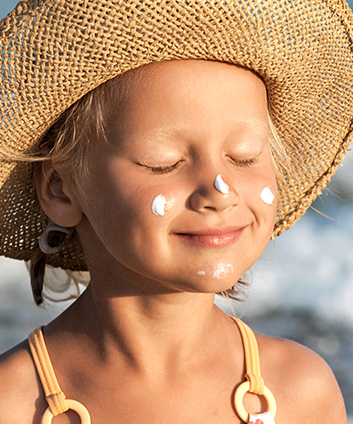 Special
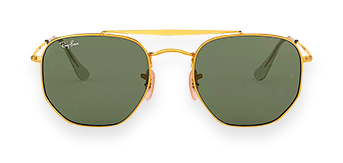
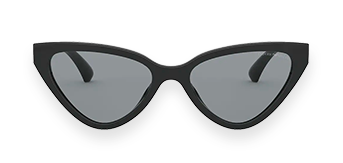
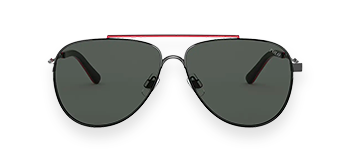
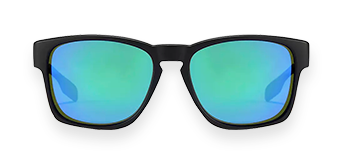
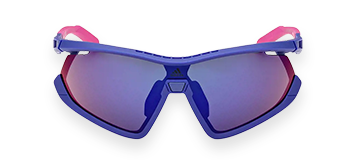
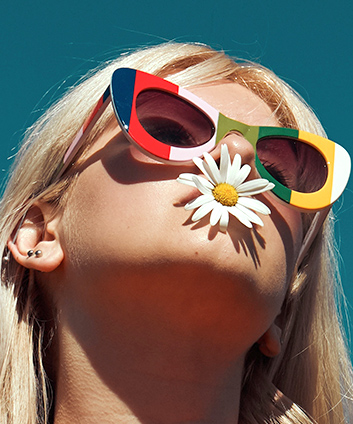 SUNGLASSES


 Commitment to
 Mothers
 Sunglasses
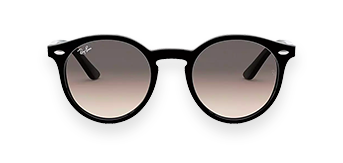
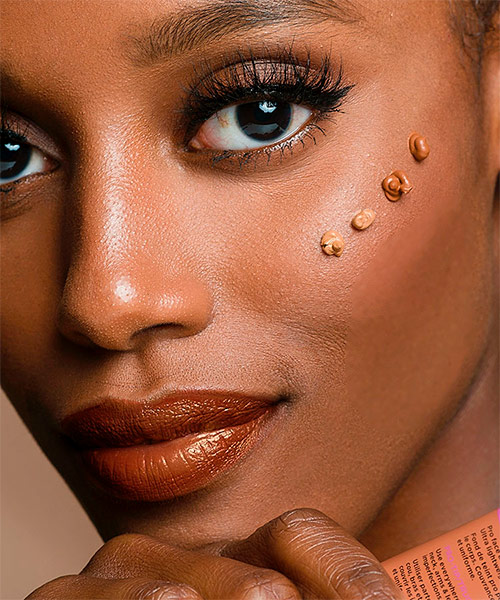 Your beauty
 Download